

Chili crisp is a versatile and flavorful condiment that can elevate the taste of any dish with its spicy, crunchy, and aromatic profile. This easy-to-make recipe combines the heat of dried chilies with the umami richness of garlic, shallots, and spices, all fried to crispy perfection in oil. Whether you drizzle it over noodles, stir it into soups, or use it as a dipping sauce, chili crisp adds a delightful kick that keeps you coming back for more. Let’s dive into the origins, ingredients, and cooking techniques that make this chili crisp recipe a must-have in your culinary arsenal.
Origin and History
Chili crisp, also known as “Hong You” in Chinese cuisine, originates from the Sichuan province in China, renowned for its bold and spicy flavors. This fiery condiment rose to fame due to its ability to enhance the taste of numerous dishes, creating a perfect balance between heat, crunch, and savory notes. Traditionally, chili crisp was crafted by simmering oil with various spices, chilies, and aromatics until crispy bits formed, resulting in a fragrant and spicy oil that became a staple in Sichuan cooking. Over time, this humble yet addictive condiment has gained popularity worldwide, finding its way into fusion cuisine and creative culinary applications.
Unique Ingredients and Flavors
The magic of chili crisp lies in its diverse array of ingredients that come together to create a symphony of flavors and textures. Dried red chilies provide the fiery heat, while garlic and shallots lend their aromatic essence to the mix. Soy sauce adds a hint of saltiness, and Sichuan peppercorns contribute their signature numbing and tingling sensation. The combination of these ingredients, along with a touch of sugar for balance, results in a complex and irresistible flavor profile that can transform the most mundane dish into a culinary delight.
Key Ingredients:
– Dried red chilies
– Garlic
– Ginger
– Sichuan peppercorns
– Soy sauce
– Sugar
– Oil
Flavor Profile:
The chili crisp boasts a spicy, savory, and slightly sweet taste with a crunchy texture that adds depth and dimension to any dish. The heat from the chilies is complemented by the earthy notes of garlic and shallots, while the Sichuan peppercorns provide a numbing sensation that tantalizes the taste buds. The soy sauce and sugar round out the flavors, creating a harmonious blend that keeps you craving more with each bite.
Cooking Techniques
Making chili crisp at home is a simple yet rewarding process that allows you to customize the spice level and ingredients to suit your preferences. The key to achieving the perfect balance of flavors lies in the careful preparation and cooking of each component. By following a few essential steps, you can create a batch of chili crisp that rivals the best commercially available versions.
Step-by-Step Instructions:
1. Prepare the ingredients by finely chopping the garlic, deseeding the dried red chilies, and gathering the Sichuan peppercorns, soy sauce, sugar, and oil.
2. Heat oil in a pan over medium heat and add the Sichuan peppercorns to infuse the oil with their flavor.
3. Add the dried red chilies to the pan and fry until they are fragrant and slightly darkened, being careful not to burn them.
4. Stir in the chopped garlic and ginger, cooking until golden brown and aromatic.
5. Remove the pan from heat and stir in the soy sauce, salt, and sugar, allowing the mixture to cool slightly.
6. Transfer the chili crisp to a heatproof container, ensuring that the oil covers the ingredients to preserve their freshness.
7. Let the chili crisp cool completely before sealing the container and storing it in the refrigerator for future use.
Pro Tips:
– Adjust the spice level by adding more or fewer dried red chilies, or including some chili flakes for extra heat.
– Experiment with different types of oil, such as sesame or peanut, to impart unique flavors to the chili crisp.
– Toast the Sichuan peppercorns before adding them to the oil to enhance their aroma and taste.
– Store the chili crisp in airtight containers in the refrigerator to maintain its freshness and flavor for an extended period.
Frequently Asked Questions
How long does chili crisp last?
When stored in an airtight container in the refrigerator, chili crisp can last for up to several weeks, thanks to the preservative properties of the oil and aromatics. Be sure to check for any signs of spoilage, such as off odors or mold, before consuming.
Conclusion
In conclusion, mastering the art of making chili crisp at home opens up a world of culinary possibilities, allowing you to infuse your dishes with bold and irresistible flavors. Whether you’re a fan of spicy cuisine or simply looking to add a kick to your meals, this easy chili crisp recipe is sure to become a staple in your kitchen. So, gather your ingredients, heat up that pan, and embark on a flavorful journey that will elevate your cooking to new heights. Don’t be afraid to experiment and make this recipe your own—after all, cooking is all about creativity and enjoyment. Embrace the heat, savor the crunch, and let the flavors of chili crisp transport you to a realm of culinary bliss. Happy cooking!


Easy Chili Crisp Recipe
Ingredients
Chili Crisp Ingredients
Instructions
Chili Oil Infusion
-
Prepare the Ingredients
Gather dried chili flakes, Sichuan peppercorns, garlic, and ginger.
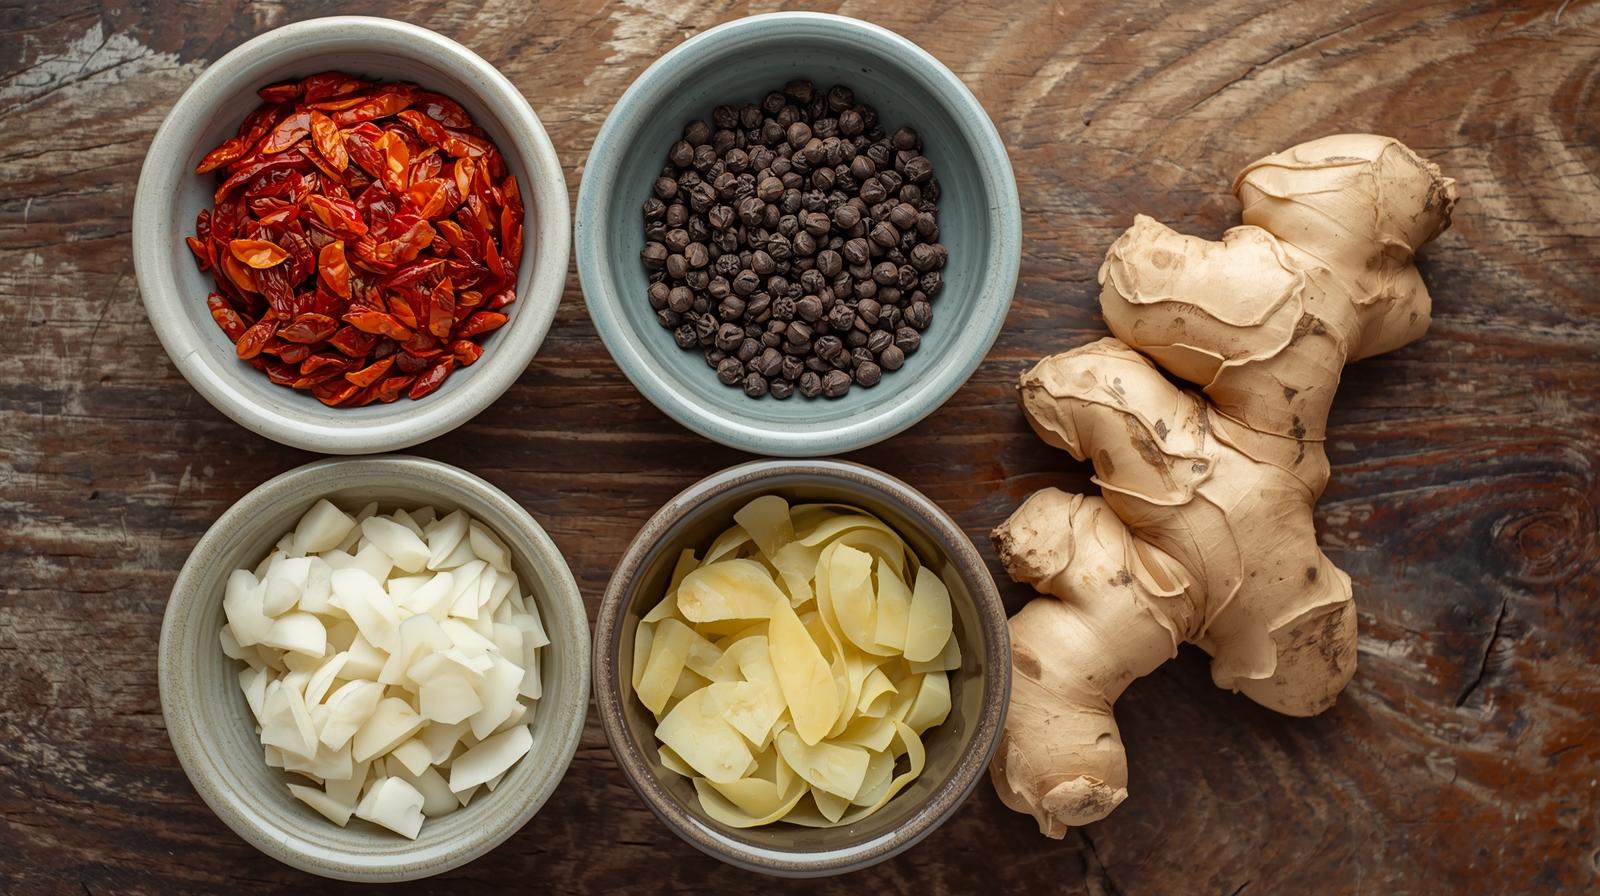 Use good quality ingredients for the best flavor.
 -
Heat & Infuse the Oil
Heat oil in a pan over low heat until it reaches around 225°F (107°C). Add chili flakes, Sichuan peppercorns, garlic, and ginger to the hot oil. Simmer on medium-low heat, stirring occasionally, for 20 minutes.
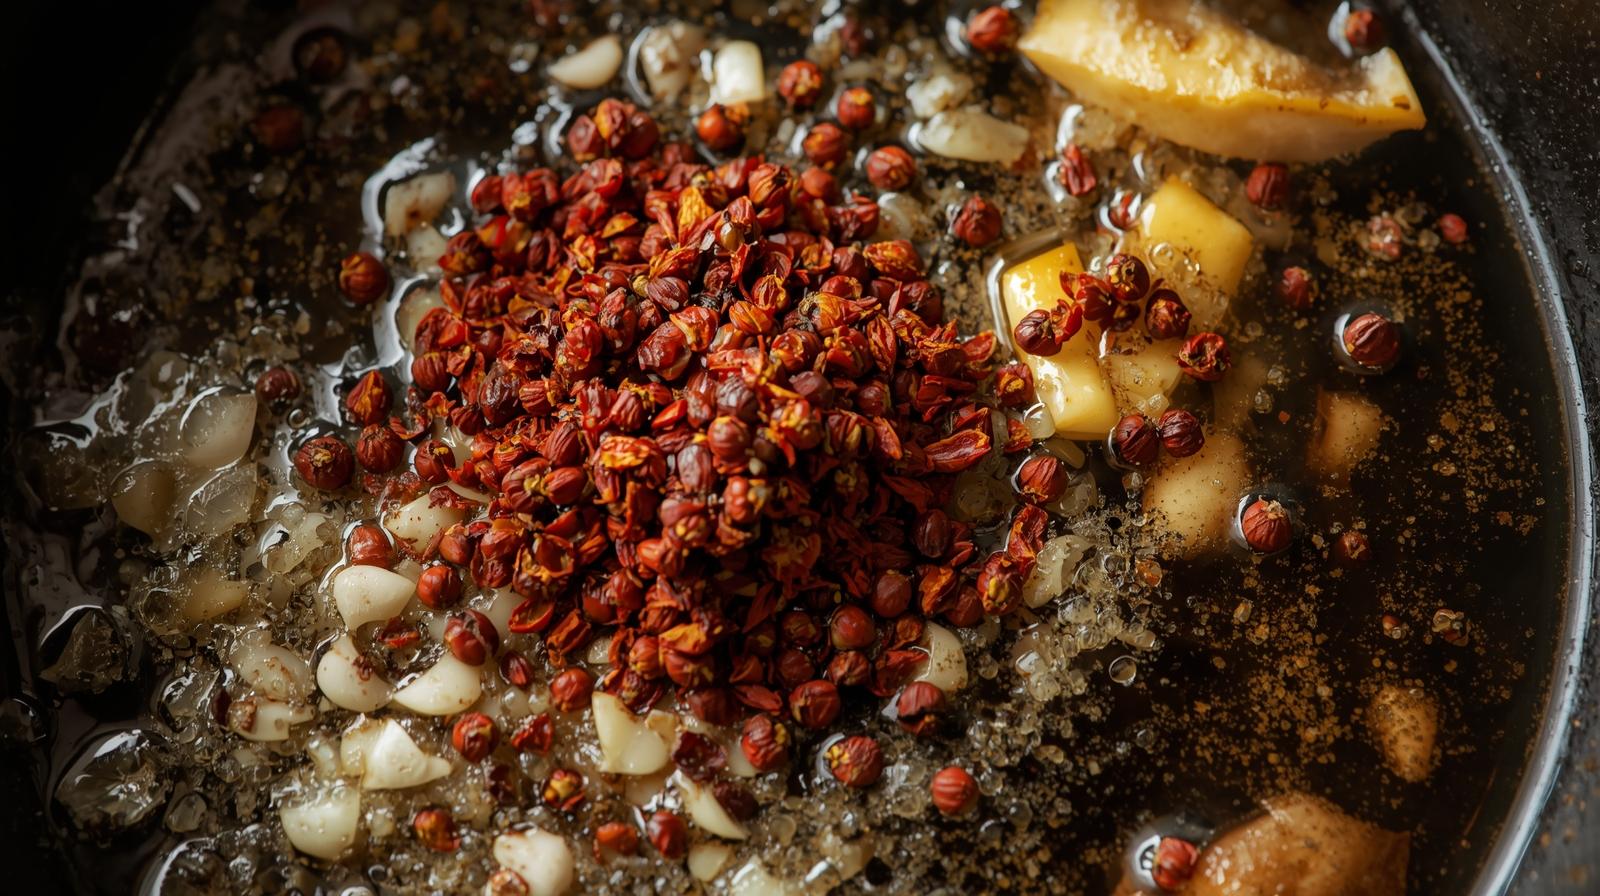 Let the ingredients sizzle gently to release their flavors.
Finishing Touches
-
Strain and Store
Strain the oil mixture through a fine sieve into a clean jar, discarding the solids.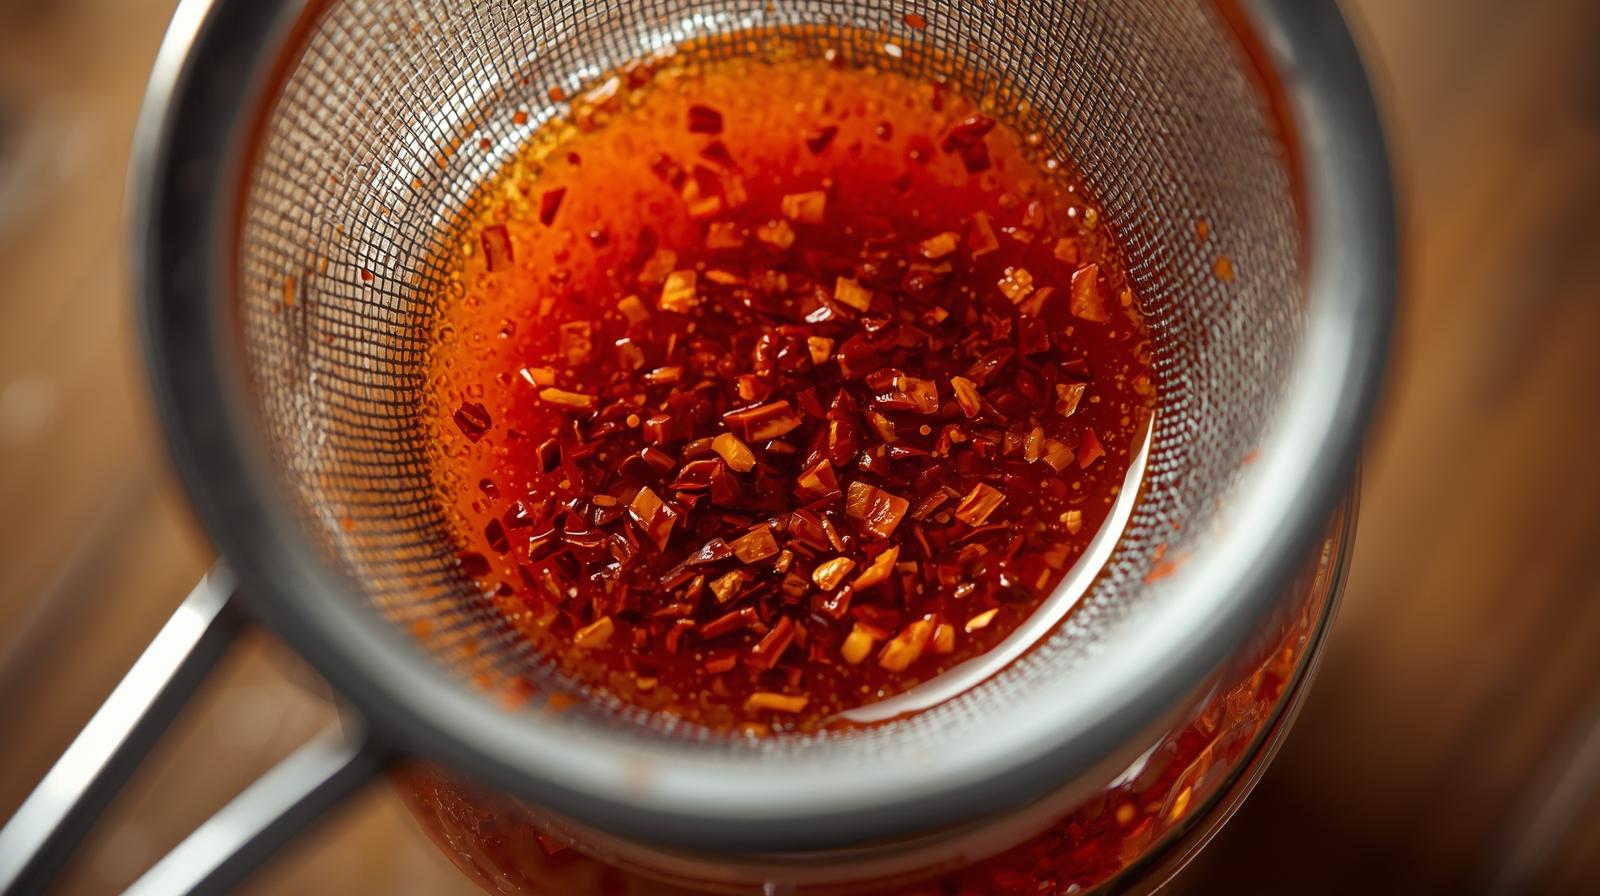 Store in a sealed jar at room temperature for up to a month.
 -
Enjoy!
Drizzle this chili oil over noodles, rice, stir-fries, or any dish for a spicy kick!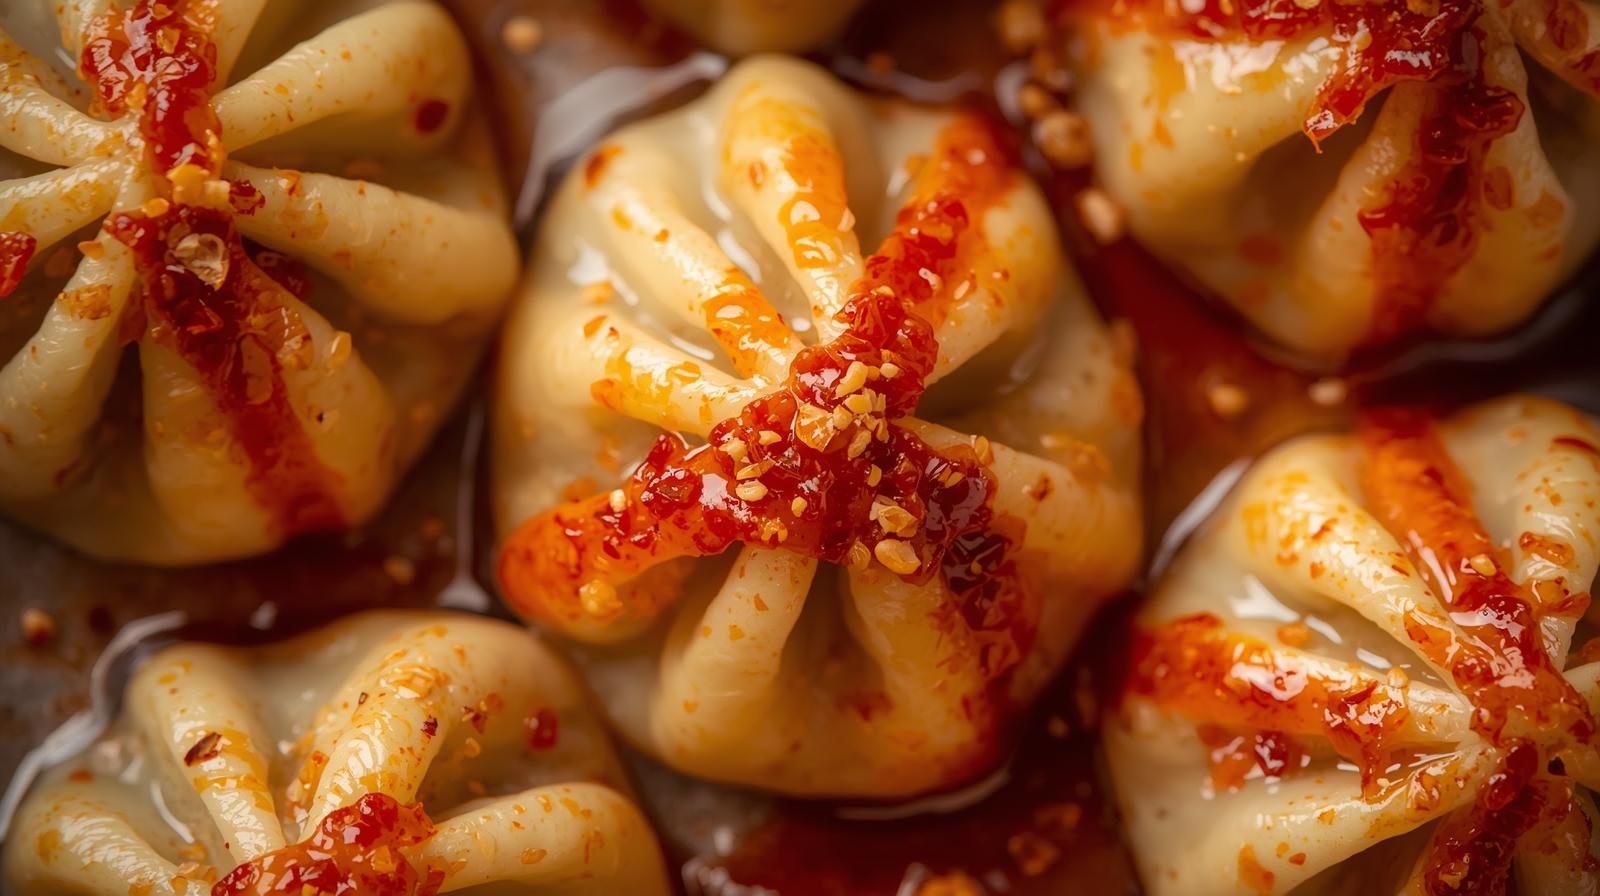 Adjust the amount according to your heat preference.
Note
- Adjust the level of spiciness by adding more or less chili flakes.
- Store in a clean, airtight jar in the refrigerator for up to 2 weeks.
- Customize by adding Sichuan peppercorns for a numbing effect.
- Experiment with different types of oil like sesame or peanut for unique flavors.
- Drizzle over noodles, stir-fries, or even pizza for a spicy kick.
- Use as a marinade for meats or vegetables before grilling for an extra layer of flavor.
- Be cautious when handling chili flakes to avoid irritation, wash hands thoroughly after.
